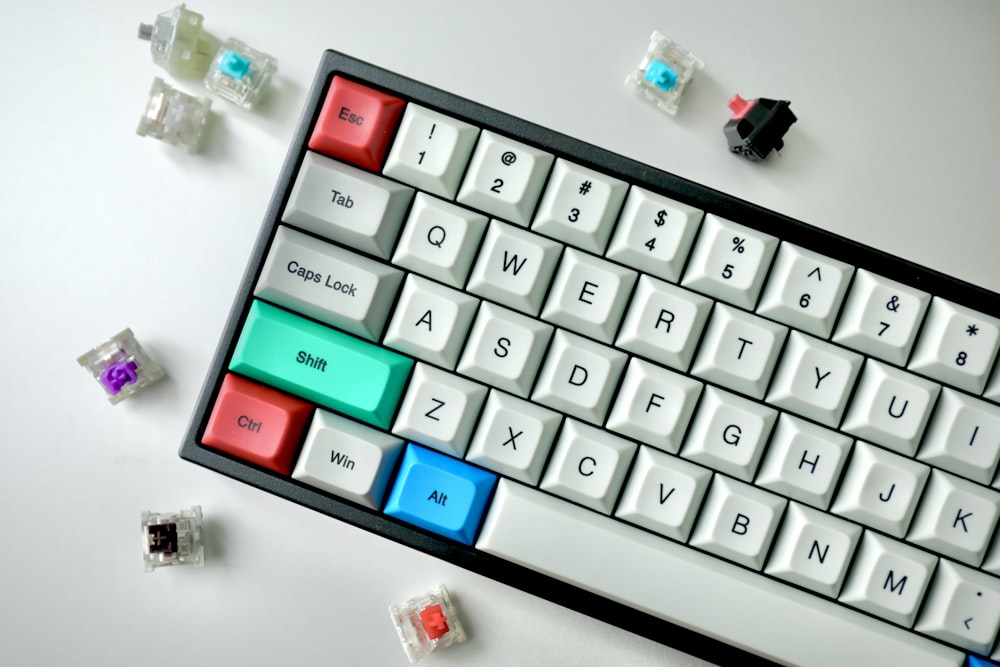
Common Keyboard Mods
Sometimes, the stock sound just isn't good enough

Although a keyboard with good acoustics and design shouldn’t need any modifications, sometimes you are a poor keyboard gremlin who got ahold of their first “budget” keyboard, only to realize that it barely holds a light to the QK65s and Mode Sonnets of the world.
And, if you’re like me, perhaps you also derive joy from taking semi-terribly designed keyboards and upgrading them into something better than they ever were before. Modding a keyboard can also create a sound profile unique to your board. In this blogpost, I’ll be explaining some common mods, when you’d want to use it, and what materials you’ll need.
Stabilizer Mods
Stabilizers are small devices with a similar shape to switches that sit on longer keycaps like modifiers and the spacebar. Most of the time, stabilizers can ruin the sound of the switch when they aren’t properly lubed or modified.
Many keyboards, especially in the budget range, will come with Cherry clip-in stabilizers. Although they are a commonly used, and very cheap stabilizer, they also require heavy modding in order to sound smooth. If your board has these, they will require a few modifications. Firstly, you will need to clip off the ends of the stabilizer to flatten the bottom. Then, you will want apply the band-aid mod. All of these mods are easier to understand with visuals, so I will link to a video by Alexotos on Youtube.
The band-aid mod doesn’t always require an actual band-aid, but it is the material first used for the mod before vendors like Thock King began making custom Poron padding to use. One piece should be placed underneath where the stabilizer should sit on the PCB, and another will fit inside the housing of the stabilizer. This will soften the bottom-out of the stabilizer when it hits the PCB, and the “holee mod”, aka the padding inside the housing, will reduce chances of the wire rattling. However, in more recent years, the holee mod has been retired, as most people have moved on to other stabilizer brands that are not in need of the holee mod.
Additionally, you will want to acquire some dielectric grease or XHT-BDZ to apply on the ends of the wires that fit into the stabilizer housings. Don’t overdo this, or it will cause the stabilizers to be sluggish and slow down the switches. A light application is all you will usually need.
PCB Mods
The material PCBs tend to be made of is not a soft material. As such, it can cause harsh bottoming out sounds that you may not want. There are a few ways to reduce sound or make a switch sound more full. On the bottom of the PCB, you can apply the tape mod by taking high-density painter’s tape and fully cover the back in 3 or less layers. Next, on the top part where the switches go, you can apply the PE foam mod, or just add individual switch pads. Combined, these mods can deepen the sound of your keyboard. The tape mod however, is most definitely a sound preference. Many well-built keyboards also are not in need of these mods as the case of the keyboard itself should be able to reflect sound in a way that doesn’t require any outside forces.
Here, you can hear the difference between a board with these different mods in place:
Switch Mods
Some switches come pre-lubed. This means that, in the factory, a thin layer of lube—usually Krytox 205g0—is applied to the stem, spring, and housing to create a smoother typing feeling. However, some switches don’t come pre-lubed or just need a little something else. Hand-lubing a switch is the most basic thing you can do to better the sound of a switch. Some switches also have wobbly stems. This means that the keycaps will have a higher chance of wobbling when you type. If you notice this, you may want to consider filming the switches. Usually switch films are made of a very thin piece of polycarbonate or foam. This makes the top and bottom housing of a switch tighter, and can also deepen the sound of a switch, especially if you use foam-based switch films. This is also a sound preference, as many people will want a higher-pitched, “clacky” sounding board. For a clacky board, you will want to avoid filming a switch.
Case Foams and Dampeners
Underneath the PCB, there is usually either a piece of foam or a silicone-based mold in a budget keyboard that helps reduce the hollow sound of a plastic case. However, most of the time, this piece of foam is not very high quality or the silicone mold dampens the case so much that there is little sound left.
Poron Foam
This is the most common material used as case foam. Places such as Kinetic Labs as well as Amazon sell this material for very cheap, and it has a nice thickness and density.
Kilmat
For thin plastic boards, Kilmat can specifically help reduce hollowness without directly causing a foam-y sound signature. Kilmat is used primarily in cars as a sound dampener but can also be used in keyboards. There are also different brands and styles similar to Kilmat such as Noico. Although Kilmat itself can be very sticky, I recommend not peeling the outside layer off and simply stick it to the bottom of the case with holes cut out for any stand-offs, if your board is a traymount. In this video, Keybored does a variety of modifications to a cheap board, including Kilmat/car sound dampener at the bottom.
Polyfill / Cotton
Polyfill, most commonly found in teddy bears, is a good alternative to poron if your keyboard’s case is really thin. Cotton balls are also an alternative material very similar to polyfill in terms of having a light density but with a same end result.
Good luck modding!

